A solid patio doesn’t just happen, it starts with a plan, decent materials, and a realistic look at what the space can actually do. Whether working with a postage-stamp yard or half an acre, smart decisions on materials, layout, and features turn concrete and pavers into a functional outdoor room. This guide walks through the core decisions: choosing materials that fit the budget, laying out zones that make sense, adding shade without blocking light, and finishing with the details that make the space worth using. No fluff, just the practical choices that deliver results.
Table of Contents
ToggleKey Takeaways
- Patio ideas for backyard success start with choosing the right materials—concrete ($3–$12 per sq ft), pavers ($10–$30), or gravel ($1–$3)—based on budget, durability, and your lifestyle.
- Effective patio layout maximizes space by zoning for specific activities: dining areas need 10×12 feet minimum, while small yards benefit from 10×10-foot designs scaled to function.
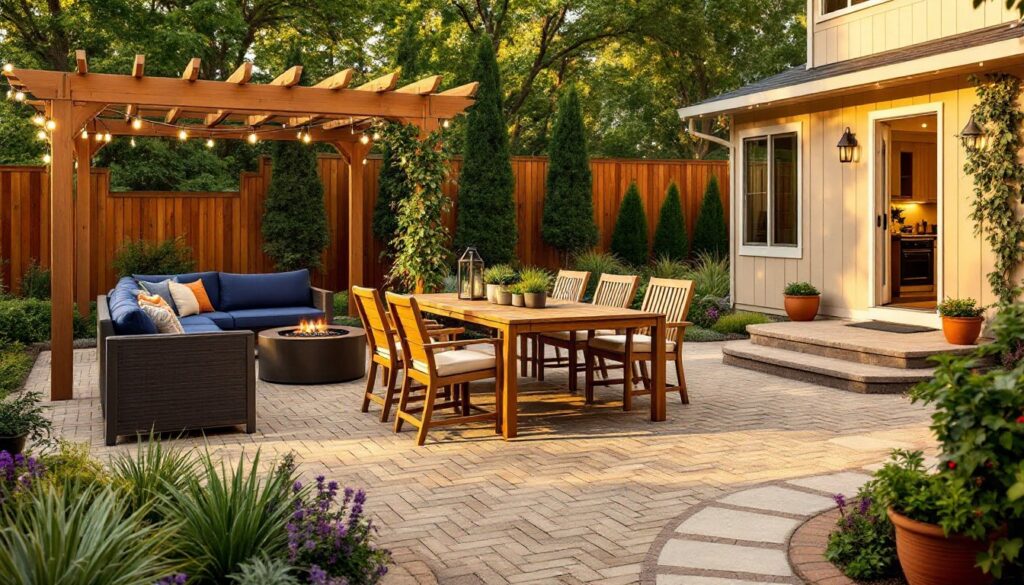
- Add shade and privacy with pergolas ($1,200–$3,000), retractable awnings ($500–$4,000), or living walls using fast-growing plants like clematis and arborvitae.
- Select durable outdoor furniture with proper clearance (24–30 inches around tables) and weather-resistant materials like powder-coated aluminum or Sunbrella fabrics that withstand UV and moisture.
- Layer your patio with strategic landscaping, container gardens, and low-voltage or solar lighting to extend usability after dark and create year-round entertaining appeal.
- Plan your entire patio project to scale on paper or with a layout app before purchasing materials, ensuring accurate measurements and compliance with local setback codes.
Choosing the Right Patio Materials for Your Budget and Style
Material selection dictates cost, longevity, and the installation skill required. Each option has trade-offs, and homeowners should weigh them against their timeline and budget.
Concrete remains the most affordable baseline, typically costing $3–$5 per square foot for a basic pour or $8–$12 for stamped or colored finishes. A 200-square-foot patio runs $600–$2,400 depending on the finish. Concrete requires proper site prep, 4–6 inches of compacted gravel base, rebar or wire mesh for reinforcement, and control joints to manage cracking. It’s a weekend DIY pour for small slabs, but anything over 100 square feet benefits from a concrete truck and a crew. Stamped patterns mimic stone or brick but add complexity and cost.
Pavers, whether concrete, clay brick, or natural stone, offer flexibility and easier repairs. Concrete pavers cost $10–$20 per square foot installed, while natural stone like bluestone or flagstone runs $15–$30. Installation demands precision: excavate 7–9 inches, lay landscape fabric, add 4–6 inches of compacted gravel base, then 1 inch of leveling sand. A patio design plan ensures accurate measurements and material orders. Pavers can be laid in running bond, herringbone, or basketweave patterns, brick patio patterns offer traditional appeal and structural stability.
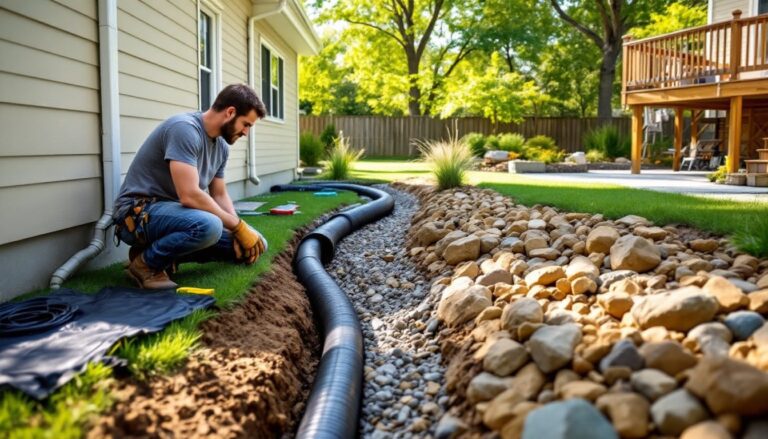
Gravel patios deliver the lowest cost at $1–$3 per square foot but require 3–4 inches of compacted base and regular raking to prevent migration. Pea gravel (3/8-inch) or crushed granite works well for casual zones.
Wood or composite decking functions like a patio but sits above grade on joists and posts. Pressure-treated lumber costs $15–$25 per square foot installed, composite $30–$45. Wood demands annual sealing and eventual board replacement.
Design Layouts That Maximize Your Backyard Space
Effective layout starts with measuring the footprint and zoning by activity. Draw the yard to scale on graph paper or use a layout app. Mark existing features: trees, utilities, downspouts, and property lines. Most municipalities require setbacks, typically 3–5 feet from property lines, so verify local codes before breaking ground.
Dining zones need at least 10×12 feet to fit a table and chairs with clearance for movement. Rectangular patios work for narrow yards: L-shapes wrap corners and create distinct areas. An 8-foot-wide path connects the patio to the house or secondary spaces like a fire pit or garden bed.
For small yards, a 10×10-foot paver square tucked against the house offers enough room for a bistro set and planters. Extend perceived space by using light-colored pavers and low borders rather than tall walls. Multi-level designs with 6–8 inch steps add dimension without consuming horizontal footage.
Large backyards benefit from multiple zones: a 16×20-foot main patio near the house, a gravel fire pit area 15 feet away, and a secondary lounge nook. Keep sight lines open but define edges with low plantings or a change in material. Strategic backyard design ideas show how zoning improves flow for entertaining.
Curved edges soften formal layouts and suit naturalistic gardens, but they complicate paver cuts. Straight lines and 90-degree corners simplify material estimates and installation.
Creating Shade and Privacy for Comfortable Outdoor Living
Sun exposure and sightlines determine how often a patio gets used. Analyze shade patterns at different times of day before committing to structures.
Pergolas provide partial shade and support climbing vines or retractable canopies. A standard 10×12-foot cedar or pressure-treated pergola kit costs $1,200–$3,000 and installs over a weekend with basic tools. Anchor posts in post brackets bolted to the patio surface or dig 18–24 inch footings below frost line if building on soil. Cross-beams spaced 12–16 inches apart block about 30% of sunlight: add shade cloth or outdoor curtains for more coverage.
Retractable awnings mount to the house and extend 8–14 feet. Manual models cost $500–$1,500, motorized versions $1,500–$4,000. Ensure the mounting wall can support the load, awnings attach to wall studs or blocking, never just siding. Wind ratings matter: most awnings retract in gusts over 20 mph.
Umbrellas offer flexible, movable shade. A 9-foot market umbrella with a weighted base suffices for bistro sets: 11-foot cantilever umbrellas cover larger dining tables and cost $300–$800. Use at least 50 pounds of base weight to prevent tipping.
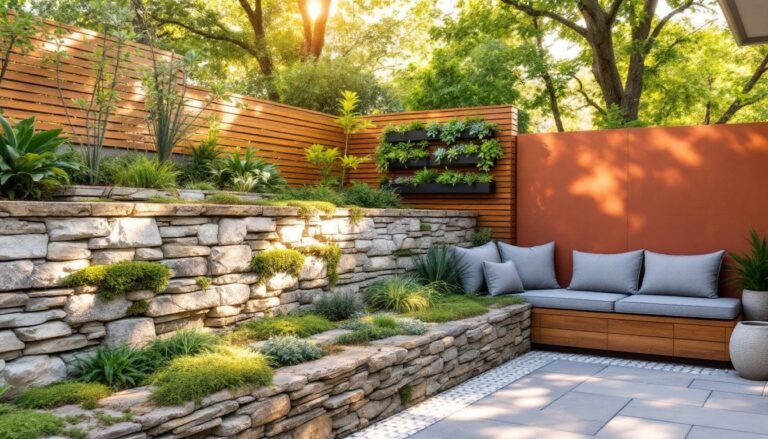
For privacy, vertical elements block views without eating floor space. A 6-foot cedar fence panel costs $25–$40 and installs between 4×4 posts set in concrete. Lattice panels with fast-growing climbers like clematis or jasmine soften the look. Outdoor privacy screens, canvas, metal, or composite slats, cost $100–$400 per 6-foot section and mount to deck rails or freestanding frames. Shrubs like arborvitae or boxwood planted 3 feet apart form a living wall in 2–3 years.
Furniture and Decor Ideas to Personalize Your Patio
Furniture anchors the space and defines its function. Choose pieces scaled to the patio dimensions and built for outdoor exposure.
Material durability matters. Powder-coated aluminum resists rust and weighs less than wrought iron, useful if rearranging frequently. Teak, eucalyptus, and cedar handle moisture but require annual oil treatments to maintain color. All-weather wicker (resin over aluminum frames) mimics natural wicker without the rot. Avoid untreated pine or particle board: both degrade fast outdoors.
Seating and dining sets should fit with 24–30 inches of clearance around the table for chairs. A 60-inch round table seats six: a 72-inch rectangle seats eight. Deep-seat lounge chairs with 4–6 inch cushions cost $400–$1,200 per set but deliver comfort for extended use. Sectional sofas maximize seating in small footprints. Proper patio furniture selection considers both form and long-term durability.
Outdoor rugs define zones and add color. Polypropylene rugs resist mildew and fading: hose them off as needed. Size rugs so furniture legs rest fully on or off, not half-and-half.
Weather-resistant cushions and pillows use solution-dyed acrylic fabrics like Sunbrella, which resist UV and moisture. Store them during heavy rain or winter to extend lifespan. Fire pits, wood-burning or propane, add warmth and a focal point. Portable propane models cost $150–$500 and don’t require permits. Wood-burning pits must sit at least 10 feet from structures and comply with local burn bans.
Landscaping and Greenery to Enhance Your Patio
Strategic planting softens hardscape and integrates the patio with the yard. Choose plants based on sun exposure, mature size, and maintenance tolerance.
Perimeter plantings frame the patio. Low-maintenance options include ornamental grasses (fountain grass, blue fescue), evergreen shrubs (boxwood, dwarf Alberta spruce), and flowering perennials (lavender, salvia, coneflower). Plant shrubs 18–24 inches from patio edges to allow for growth.
Container gardens offer flexibility. Group pots in odd numbers (3, 5, 7) for visual interest. Use containers at least 12 inches in diameter to reduce watering frequency. Combine thrillers (tall focal plants), fillers (mid-height bloomers), and spillers (trailing vines) for layered texture. Tomatoes, herbs, and peppers thrive in 5-gallon pots with full sun and consistent watering.
Vertical gardening maximizes space on railings or walls. Install trellis panels, wall-mounted planters, or hanging baskets. Climbing roses, ivy, and honeysuckle cover structures in 1–2 seasons. Ensure supports handle mature plant weight.
Ground covers like creeping thyme or moss phlox fill gaps between pavers and tolerate foot traffic. Plant plugs 6–8 inches apart: they’ll spread and fill in one growing season.
Edging materials, steel, stone, or plastic, contain mulch and define planting beds. A 2–3 inch layer of hardwood mulch or river rock suppresses weeds and retains soil moisture. Ideas from Better Homes & Gardens illustrate how layered greenery brings cohesion to outdoor zones.
Lighting Solutions for Ambiance and Functionality
Good lighting extends patio usability after dark and improves safety on steps and pathways. Plan circuits early if hardwiring: low-voltage and solar options simplify retrofit projects.
Low-voltage systems run on 12V transformers connected to standard 120V outlets. Kits cost $150–$400 and include cable, fixtures, and a transformer with timer or photocell control. Bury 12-gauge cable 6 inches deep or run along fences and under mulch. Space path lights 8–10 feet apart along walkways: spotlights highlight trees or architectural features. LEDs consume 80% less power than halogens and last 20,000–50,000 hours.
String lights add casual ambiance. Commercial-grade strands with Edison bulbs or globe shades cost $30–$100 per 25-foot strand. Suspend them from posts, pergola beams, or cable-wire systems tensioned between anchors. Use outdoor-rated outlets and GFCI protection: drape cables with enough slack to avoid strain.
Solar lights require no wiring but depend on adequate sun exposure. Quality solar path lights ($30–$60 each) charge during the day and run 6–8 hours at night. Position them where they’ll receive 6+ hours of direct sun.
Hardwired fixtures, sconces, pendants, or recessed cans, require compliance with the National Electrical Code (NEC). Outdoor fixtures must be UL-listed for wet or damp locations. Buried conduit protects wiring: use schedule 40 PVC or metal conduit for underground runs. Hardwired projects often require permits and inspection, hire a licensed electrician if unfamiliar with code requirements.
Practical entertaining upgrades often include layered lighting for both task and mood settings.
Motion sensors and smart controls add convenience. PIR motion detectors trigger lights when someone approaches: smart switches integrate with voice assistants and timers for scheduled operation.
Conclusion
Building a patio that works means balancing materials, layout, and features within a realistic budget and skill level. Start with durable materials matched to the climate, zone the space by activity, and layer in shade, seating, greenery, and lighting that meet actual needs. Most projects move faster with a helper, especially when pouring concrete or setting heavy pavers. For design inspiration and entertaining ideas, resources like Hunker provide project-specific guidance. The result: an outdoor space built to last and used year-round.